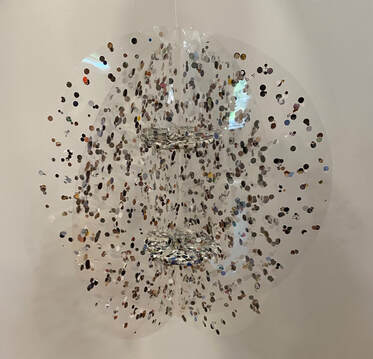
 I decided to make a smaller version of one of my past pieces, Orbit One, to have with the previous piece as a pair at the senior show. This piece is about 2/3s as large as the last, but was made in the same exact manner. I plan on hanging the two pieces next to each other, but with this one a little higher up (further from the ground).
1 Comment
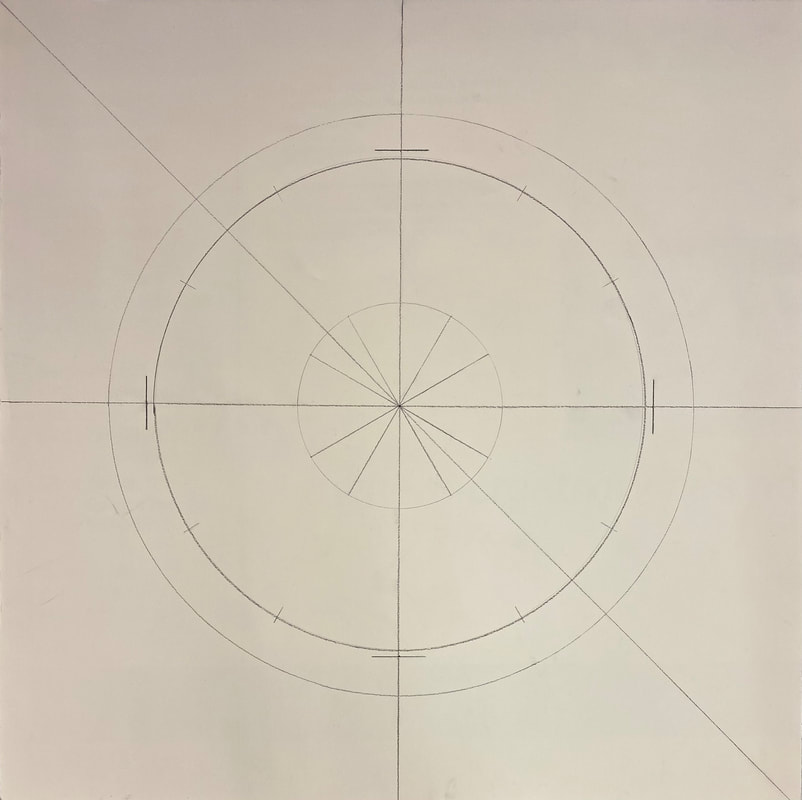
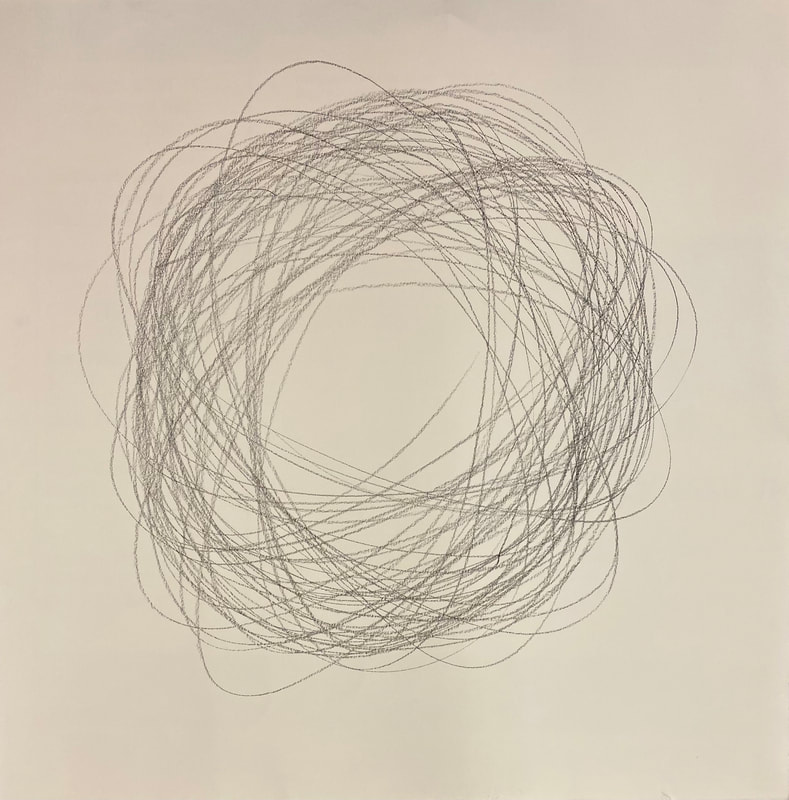
Recently, I finished these two drawings that act a pair. The one on the right, titled "Intent" is meant to represent order. In order to make this piece I used a ruler and compass to draw two circles, and wanted to make sure that some of the actual measurements were a part of the final piece. The piece on the right is meant to represent chaos and is titled "Chance." I made this circle (ish) shape purely by hand. Although you can not see it in these photos, the paper has more natural, rough edges.
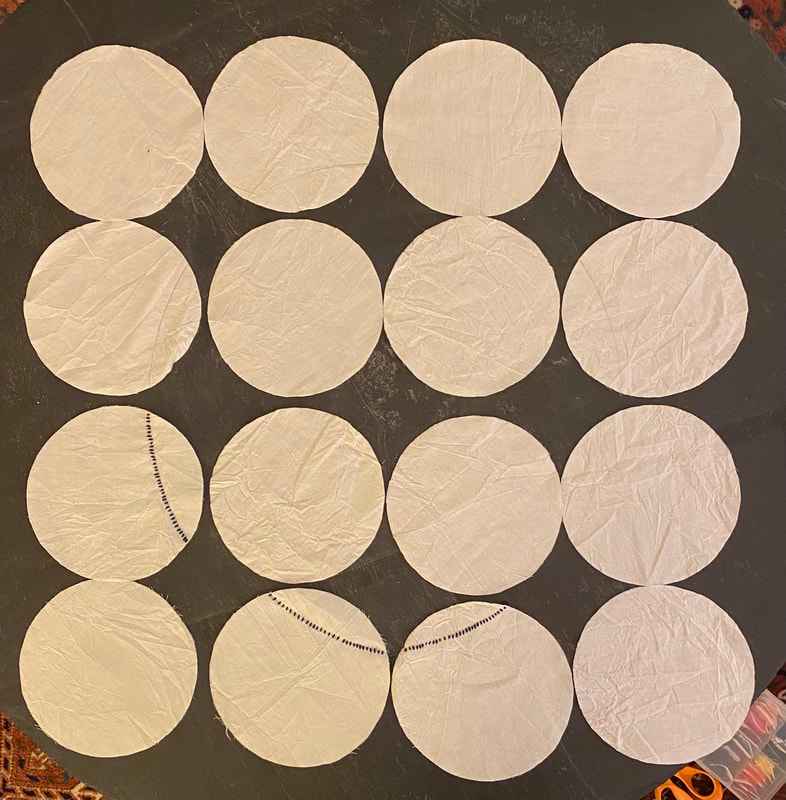
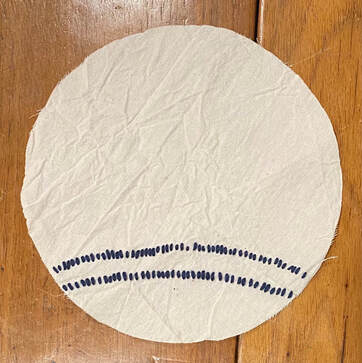 This past week I started to work on the second row of stitching on the circle. I believe I have completed this row on about six of the fabric circles so far. This is definitely time consuming, so I plan on continuing to stitch in my free time these next few weeks, rather than just during designated studio time. I am happy with how it's looking so far, so I'm thinking of continuing to do more and more rows if time permits.
Again, my projects have both morphed overtime and I have not decided which is my "at-home" project and which is my "in-class" project. So, here is my progress on each of my two projects. Just to be clear, the newspaper in the background is not a part of this piece. In order to complete this piece, I used basically a stamp and acrylic to create a pattern on parchment paper. I then altered the color or the pattern using more paint and just did some touch ups. I then drew my "orderly" circle on another piece of parchment paper. Next, I attached the two pieces of paper together and put a textured piece of packaging in between. I am happy with how this piece turned out and am definitely grateful for the level of planning I did prior. I plan on making another similar piece that represents chaos.
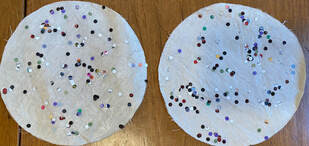
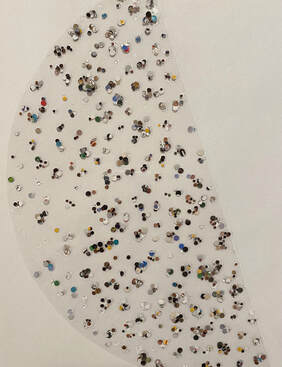
In regards to my other project (the one with the 16 circles and embroidery), I started to add paper dots to the circles inside the embroidered circle. The paper dots will be on the back of the fabric when the piece is complete.
I am currently working on two projects, but have not designated one as my home project, and the other as my in-class project. Above, in the slideshow, is documentation of some experimentation I did this week. I was already planning on doing a simple graphite drawing soon, but when I was given a tray with circles on it I decided I would add a background to my future drawing. I played around with using the tray (both sides of it) as a stamp. I experimented with different amounts of paints, as well as time of contact between the stamp and paper. I think I like the subtly of the side of the stamp where the actually circles remain white. The last picture of the slideshow is a practice for what I plan to do for my piece - draw a precise circle on top of the stamped background.
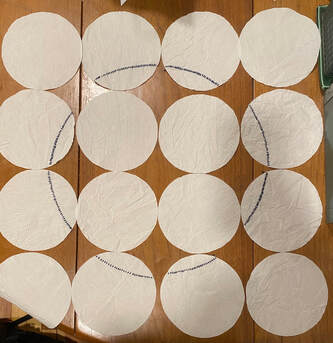
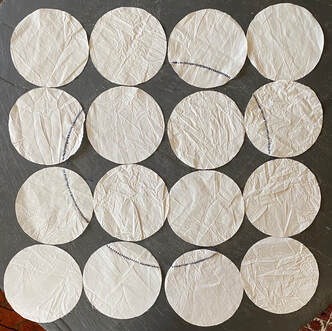
This week I started to actually put create the bigger circle on this piece. I did this by laying out sixteen pieces, tracing a circle, and then embroidering that line. As you can see, I have not quite complete the circle but am well on my way. Next, I will finish the circle, add more details, and lastly create another 4x4 piece that represents chaos, rather than order. Below is a close up of one of the lines. 
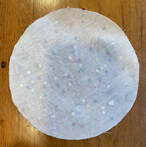
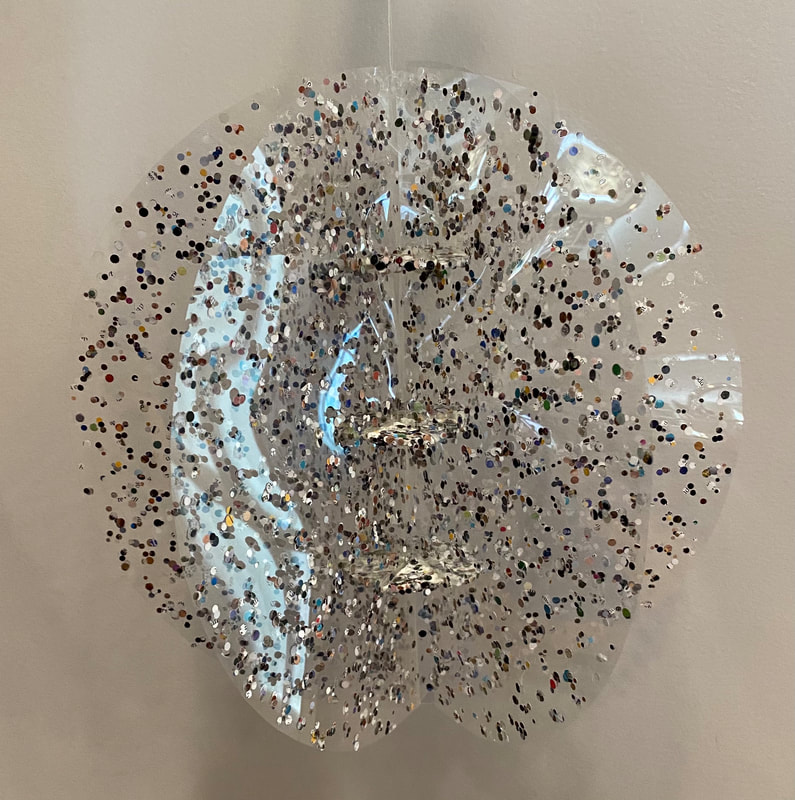
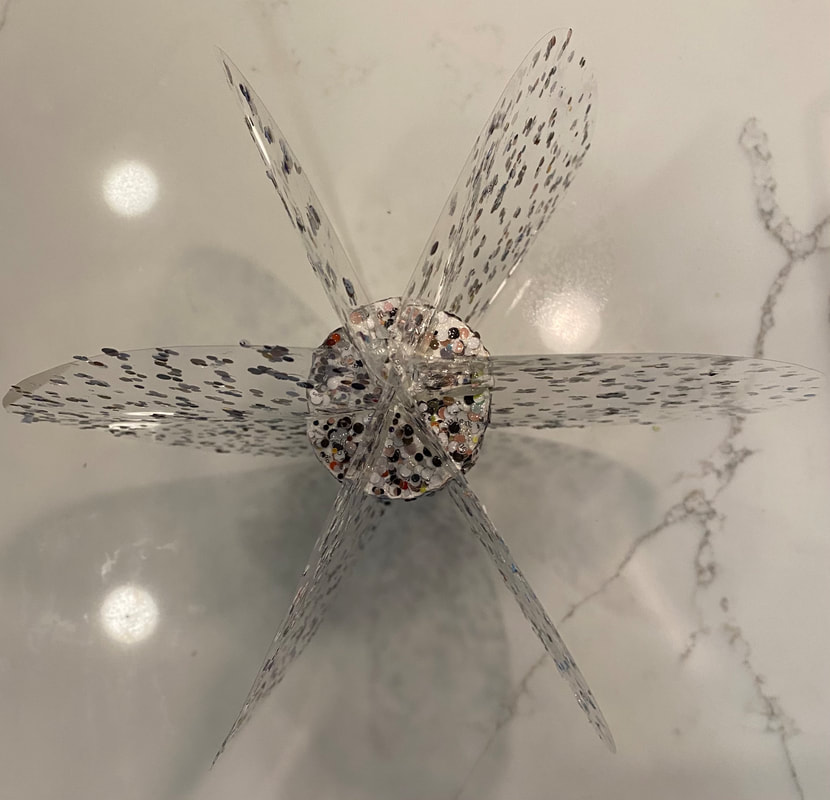
This week, I was able to finish up my project. This meant that first I had to add some more paper dots to some blank spaces on the duralar pieces. I then had to create the pieces that would hold the six sheets together to make a sphere. This required cutting out three circles from a board and then cutting those circles into six triangles. These triangles would fit between each duralar sheet to create a sphere shape. Here is a picture of some of those triangular pieces, which I also covered in dots to create a more cohesive look. 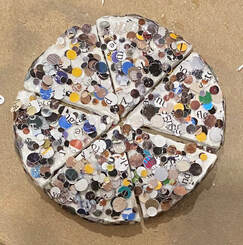 Below are pictures of the finished product. It was definitely very difficult to photograph on my own at home, but I will take some more pictures in the future with some help. I also included a picture of the piece from above just to give an idea of how the whole piece is held together. Also, in the future, I plan on making four more of these of varying sizes.
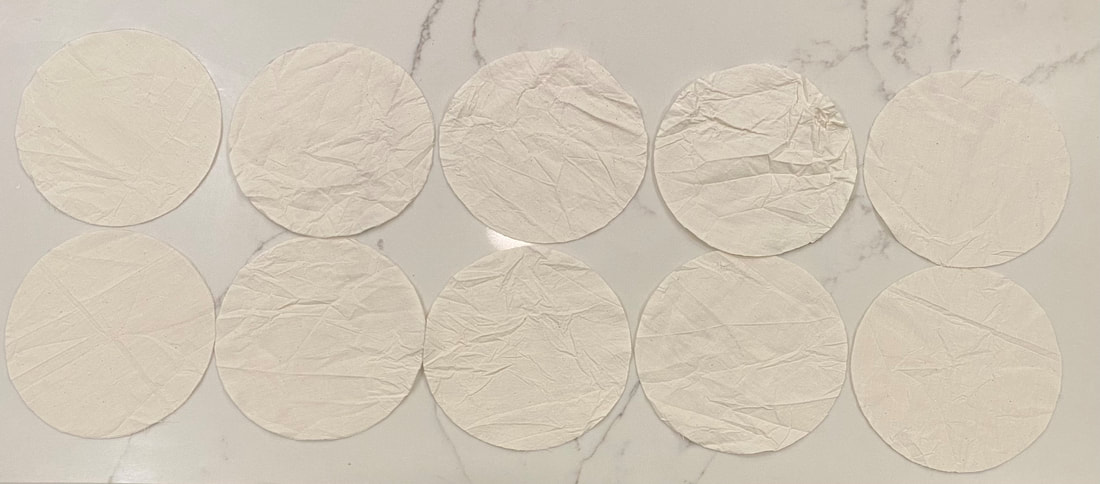 For my home project, I plan on making a wall hanging out of 25 connected circles. These circles will then have an image across them, also made of circles. So far for this project I have done a lot of ironing of a piece of fabric so that when I cut out the circles they are actually circular. Clearly the already cut circle have gotten wrinkly again, so my next steps will be to iron more and cut out three more rows of circles.
|
Archives
June 2021
Categories |
 RSS Feed
